[Day 9] 클래스
1. 타입스크립트의 클래스
클래스의 필드를 선언할 때 타입 주석으로 타입을 함께 정의해야 한다.
class Employee {
  // 필드
  name: string = "";
  age: number = 0;
  position?: string = "";

  // 생성자
  constructor(name: string, age: number, position: string) {
    this.name = name;
    this.age = age;
    this.position = position;
  }

  // 메서드
  work() {
    console.log("일함");
  }
}
- 클래스가 생성하는 객체의 특정 프로퍼티를 선택적 프로퍼티로 만들고 싶다면
?를 추가한다.
1. 상속
class ExecutiveOfficer extends Employee {
  officeNumber: number;

  constructor(
    name: string,
    age: number,
    position: string,
    officeNumber: number
  ) {
    super(name, age, position);
    this.officeNumber = officeNumber;
  }
}
- 파생 클래스에서 생성자를 정의했다면 슈퍼 클래스의 생성자를 최상단에 호출해야 한다.
2. 접근 제어자
타입스크립트에서만 제공되는 기능으로, 클래스의 툭정 필드나 매서드를 접근할 수 있는 범위를 설정한다.
1. public
어디서든지 이 프로퍼티에 접근할 수 있음을 의미한다.
class Employee {
  // 필드
  name: string;      // 자동으로 public
  age: number;       // 자동으로 public
  position: string;  // 자동으로 public

  // 생성자
  constructor(name: string, age: number, position: string) {
    this.name = name;
    this.age = age;
    this.position = position;
  }

  // 메서드
  work() {
    console.log("일함");
  }
}

const employee = new Employee("이정환", 27, "devloper");

employee.name = "홍길동";
employee.age = 30;
employee.position = "디자이너";
2. private
클래스 내부에서만 이 필드에 접근할 수 있게 만든다.
class Employee {
  // 필드
  private name: string; // private 접근 제어자 설정
  public age: number;
  public position: string;

    // 생성자

    constructor(name: string, age: number, position: string) {

        this.name = name;

        this.age = age;

        this.position = position;

    }
  // 메서드
  work() {
    console.log(`${this.name}이 일함`); // 여기서는 접근 가능
  }
}

const employee = new Employee("이정환", 27, "devloper");


employee.name = "홍길동"; // ❌ 오류
employee.age = 30;
employee.position = "디자이너";
3. protected
private과 public의 중간으로 클래스 외부에서는 접근이 안되지만 클래스 내부와 파생 클래스에서 접근이 가능하도록 설정한다.
class Employee {
  // 필드
  private name: string; // private 접근 제어자 설정
  protected age: number;
  public position: string;

    // 생성자

    constructor(name: string, age: number, position: string) {

        this.name = name;

        this.age = age;

        this.position = position;

    }

  // 메서드
  work() {
    console.log(`${this.name}이 일함`); // 여기서는 접근 가능
  }
}

class ExecutiveOfficer extends Employee {
 // 메서드
  func() {
    this.name; // ❌ 오류
    this.age; // ✅ 가능
  }
}

const employee = new Employee("이정환", 27, "devloper");


employee.name = "홍길동"; // ❌ 오류
employee.age = 30; // ❌ 오류
employee.position = "디자이너";
4. 필드 생략하기
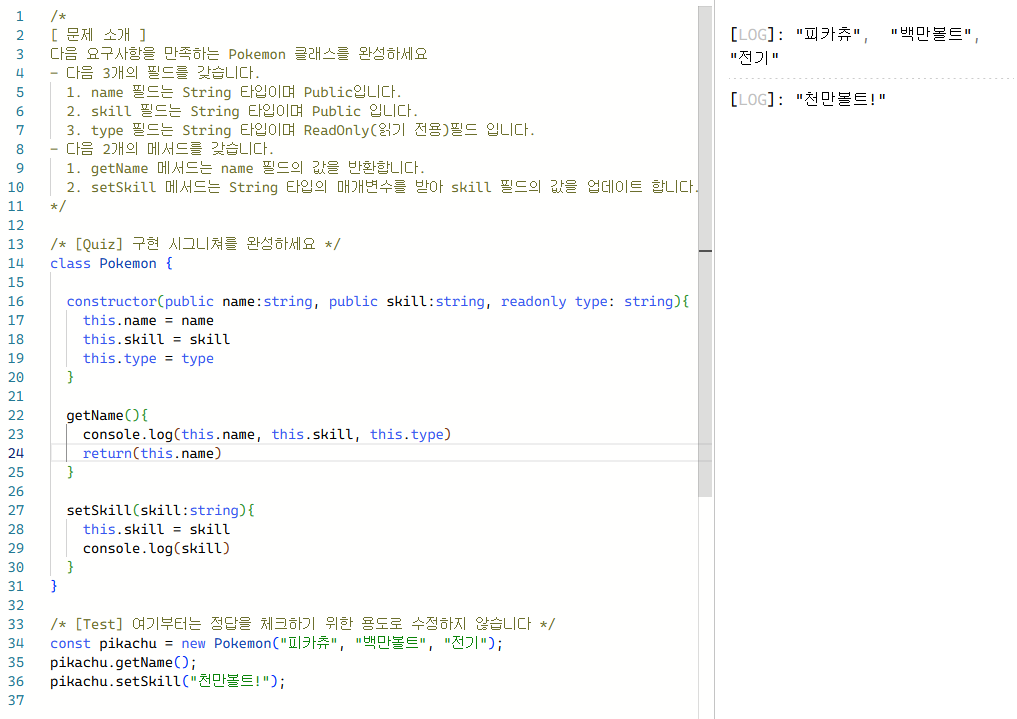
생성자에 접근 제어를 설정해 필드를 없애고 사용할 수 있다. this.필드 = 매개변수가 자동으로 수행된다.
class Employee {
  // 생성자
  constructor(
    private name: string,
    protected age: number,
    public position: string
  ) {
    this.name = name;
    this.age = age;
    this.position = position;
  }

  // 메서드
  work() {
    console.log(`${this.name} 일함`);
  }
}
class Employee {
  // 생성자
  constructor(
    private name: string,
    protected age: number,
    public position: string
  ) {}

  // 메서드
  work() {
    console.log(`${this.name} 일함`);
  }
}
- 매개변수가 자동으로 설정되기 때문에 필드 선언과 내부 코드를 전부 생략하고 간결하게 사용할 수 있다.
3. 인터페이스와 클래스
인터페이스는 클래스의 필드를 알려주는 설계도 역할을 수행한다.
/**
 * 인터페이스와 클래스
 */

interface CharacterInterface {
  name: string;
  moveSpeed: number;
  move(): void;
}

class Character implements CharacterInterface {
  constructor(
    public name: string,
    public moveSpeed: number,
    private extra: string
  ) {}

  move(): void {
    console.log(`${this.moveSpeed} 속도로 이동!`);
  }
}
- implements 키워드를 사용해 해당 클래스가 생성하는 객체는 인터페이스의 타입을 만족하도록 구현해야 한다.
4. 과제
